

Whether it’s a remote mountaintop in another hemisphere or a filter just out of arm’s reach, DayStar has a half century of experience with operating solar filters and solar telescopes remotely. Our comprehensive suite of software, drivers, cables, and expertise allows you to operate remotely with reliability and precision.
New for 2026, our new Remote Ready feature on all new Quark, Gemini, and Sol Telescopes brings remote control to all price points. Our Quantum series remains the choice for professional observatories and research projects with a wider tuning range and more expansive command set.
Remote Operating Advice
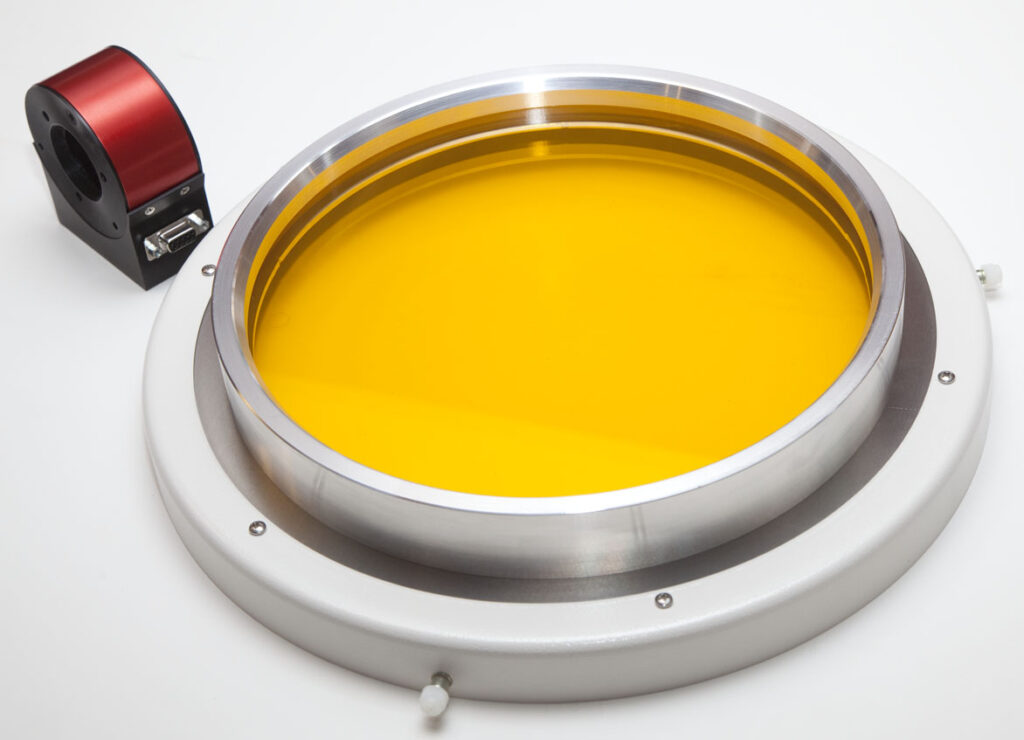
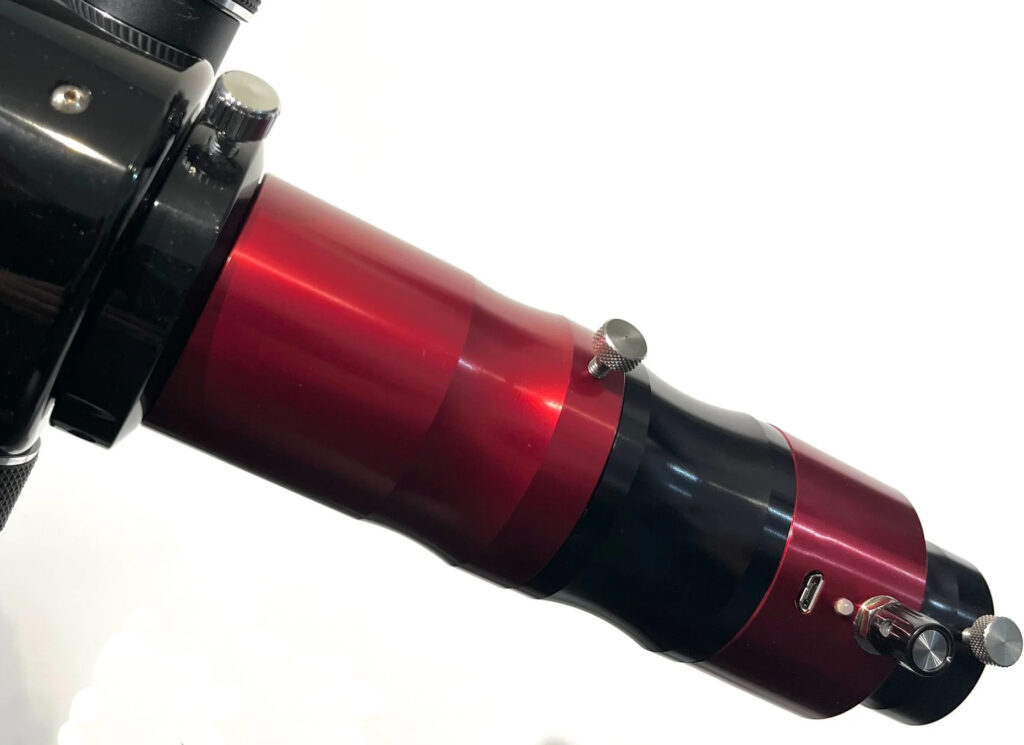
Operating all day in a sunny location means you have to manage the heat. Use of a front mounted ERF is strongly recommended if not mandatory. It won’t hurt to also have a UV/IR cut filter in the path. A straight extension tube should be used instead of a mirror diagonal, so that the filter stays in the shadow of the telescope. This also removes the torque arm that comes from part of the optical train jutting out 90 degrees, which over time can unscrew a diagonal.
At the end of each observing session, we recommend putting the filter to sleep, or remotely turning off the AC power to the filter. This will reduce the wear on the electronics.
If you are purchasing a filter for all day every day remote operation, be sure to tell us so that we can hand pick a filter with the most appropriate operating temperature for your observing location.
Over time red and black anodizing can fade from constant UV exposure. Any fading that might occur is usually just cosmetic and does not affect performance. We anodize our parts in house so that we can apply a very thick anodize (2-3 times thicker than industry average), and we use the highest available lightfastness rating dyes, so that our products will hold color for as long as is possible.
Remote Ready Power/Data Cable
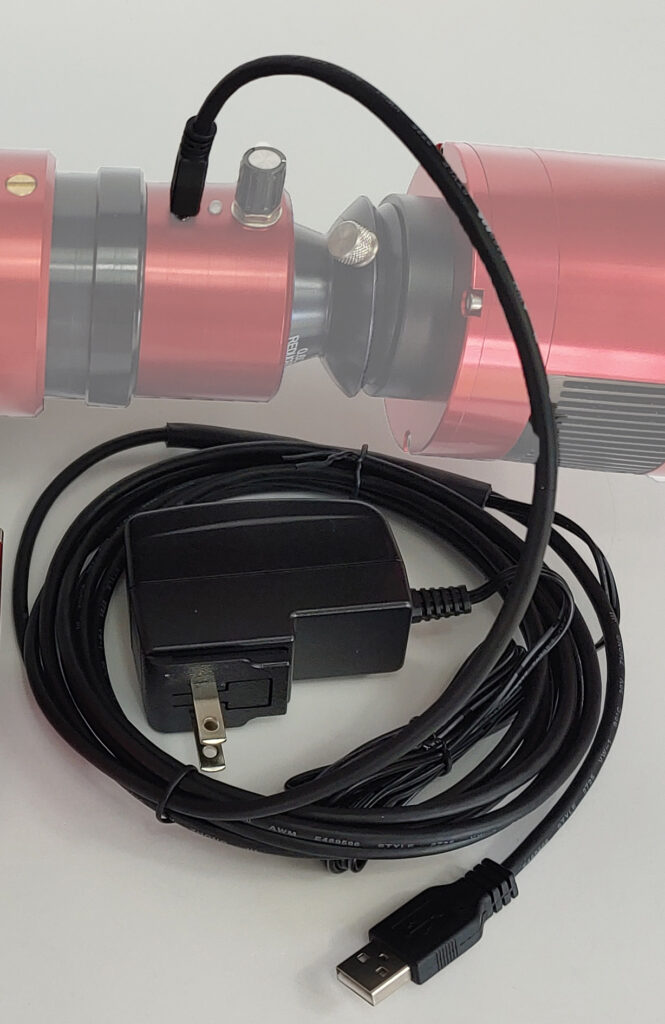
This cable allows a Remote Ready Quark, Gemini, or Sol Telescope to be remotely controlled via a USB connection to a Windows computer. Includes an international power supply and attached USB data cable.
This cable allows remote modification of the filter’s tuning, putting the filter to sleep, and monitoring the status of the filter. While the filter is remote controlled, the hardware control knob setting is ignored.
Plug the USB Micro-B connector into the Quark, Gemini, or Sol telescope. Plug the USB A connector into your Windows computer or laptop. Plug the power supply into a 100-240V AC power source using one of the included international plugs.
If your computer has a USB data port rated for 2 amps output, you can connect the filter directly. THIS IS NOT COMMON, so most people will need this cable.
Your solar filter must have factory installed firmware v6.20 or later for Quark or Sol Telescopes, or v9.20 or later for Gemini. If your firmware version is older, you will be able to monitor the filter and put it to sleep, but no remote wing shifting will be possible. Older filters can be returned to the factory and upgraded for a small fee.
Download the Remote Cable user manual here.
Software and Drivers
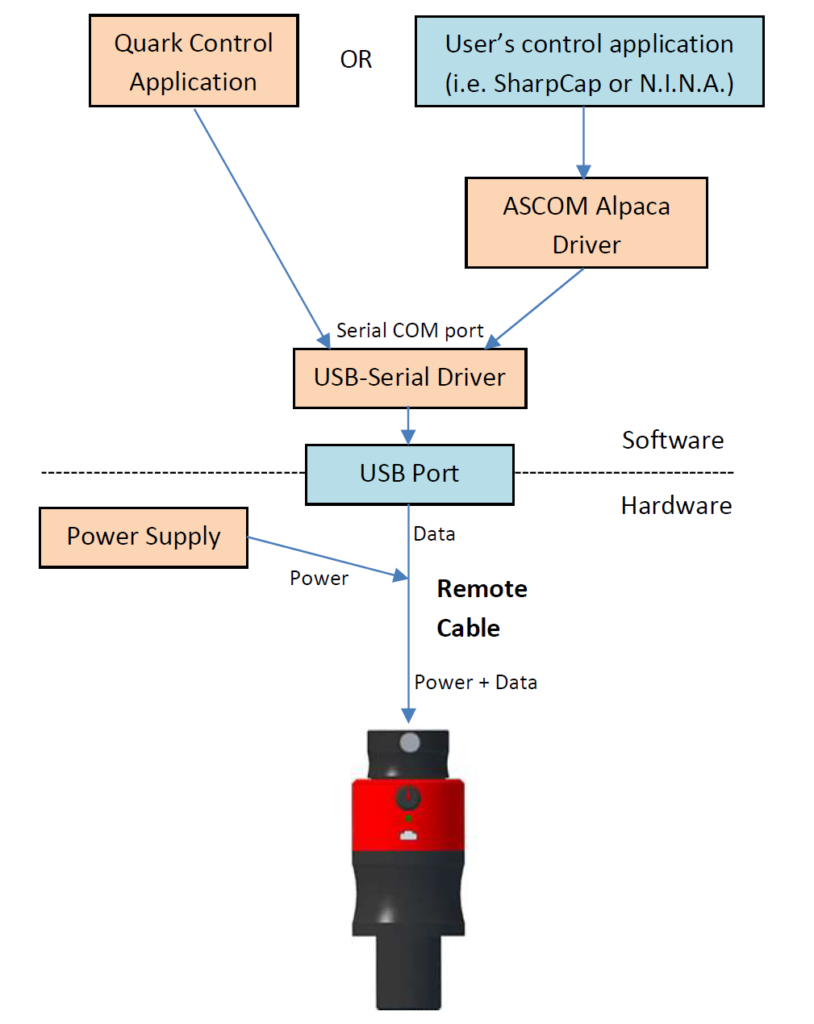
Remote operation involves several components, starting with the cable above. Then a Windows driver enables the Quark to appear as a virtual serial port. At this point you can use our Quark Control Windows software to directly control your filter, or you can use our ASCOM Alpaca driver to allow the filter to appear as an 11 position filter wheel for other software to control.
Quark Control / Quantum Control Software
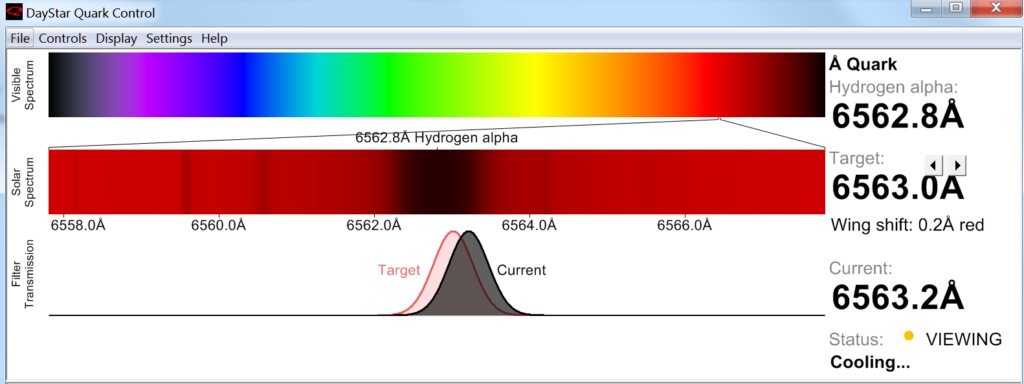
For simplicity, we provide a Windows application named “Quark Control” that can monitor and adjust the wing shift on a Quark filter.
After installing the software and connecting the remote cable, start Quark Control. Click the Auto Detect button to search for a connected Quark. The main screen then shows the filter status and allows tuning with the left/right arrow buttons. Pull down menus are provided for adjusting the wing shift in 0.1 and 0.5 angstrom increments. The filter can also be put to sleep to turn off the heater, for energy conservation while not in use.
To check the firmware version of the attached filter, select the Display | (filter) | Status… menu item.
For Quantums we offer the similar Quantum Control software, and we can also supply the raw RS232 serial command protocol if you wish to develop your own control software. Contact our office for the protocol document.
ASCOM Alpaca Driver
For use with other ASCOM compatible software, we are providing an Alpaca driver. Start the Quark Alpaca Driver application, which will open a command line text box you can safely ignore, as well as pop open a web browser window of settings. Your filter will appear as an 11 position filter wheel with the following “filters” that achieve the following:
| Position | Filter Name | Action | CWL (Å) |
|---|---|---|---|
| 1 | -.5 | Blue (down) 0.5Å wing shift (knob fully counterclockwise) | 6562.3 |
| 2 | -.4 | Blue (down) 0.4Å wing shift | 6562.4 |
| 3 | -.3 | Blue (down) 0.3Å wing shift | 6562.5 |
| 4 | -.2 | Blue (down) 0.2Å wing shift | 6562.6 |
| 5 | -.1 | Blue (down) 0.1Å wing shift | 6562.7 |
| 6 | 0 | Factory calibrated center | 6562.8 |
| 7 | +.1 | Red (up) 0.1Å wing shift | 6562.9 |
| 8 | +.2 | Red (up) 0.2Å wing shift | 6563.0 |
| 9 | +.3 | Red (up) 0.3Å wing shift | 6563.1 |
| 10 | +.4 | Red (up) 0.4Å wing shift | 6563.2 |
| 11 | +.5 | Red (up) 0.5Å wing shift (knob fully clockwise) | 6563.3 |
Position 6 aka “0” corresponds to the factory default center knob position.
Note that if Position is implemented as a zero-based list, subtract one from the position numbers shown.
SharpCap Tutorial
Make sure the Quark Alpaca driver is installed and running.
Start SharpCap, then choose File | SharpCap Settings.
Select the Hardware tab, then scroll down to the Filter Wheel section.
Select the Quark driver from the filter wheel list. Even if you have a Sol Telescope or Gemini, it will be listed as a Quark:

Click OK, then choose and connect your camera.
In the Camera Controls pane that pops open, locate the “Telescope Hardware Controls” section near the bottom of the pane.

Click “Connected”.
Choose a wing shift setting:

Allow several minutes for the tuning change to settle in.
N.I.N.A. Tutorial
Make sure the Quark Alpaca driver is installed and running.
Start N.I.N.A, click on Equipment, then Filter Wheel.
Drop down the selection list at the top of the screen and pick “Quark Solar Filter”.
Click the Connect button that looks like a power button at the far right.
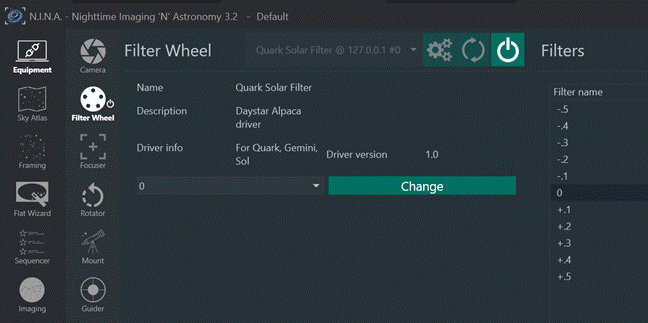
To tune the filter, select a setting from beside the Change button, then push Change.
Allow several minutes for the tuning change to settle in.